

Seiko Watch Modding for Beginners: Tools, Parts and First Builds
This article contains affiliate links. If you buy through one, I may earn a small commission at no extra cost to you. This helps support MTR-Watches and the reviews I share here.
I've really enjoyed getting into watch building and modding. Choosing a case, dial and set of hands gives you plenty of freedom to put your own ideas into a watch. There are so many combinations to explore, and seeing those separate parts come together as something you can actually wear is hugely satisfying.
My first build was a blue diver from DIY Watch Club. The kit came with the parts, tools and video instructions, which helped enormously when I was finding my way. Fitting the hands took plenty of patience, and a good part of the build time, but once the case was closed and the seconds hand was moving, I was properly proud of that watch.
I've enjoyed exploring different styles since then, and each project has made the process feel more familiar. I still think a guided kit is a great place to begin if you'd like to assemble a watch yourself. You get to enjoy the build without having to work out every parts combination before you've even picked up a tool.
Of course, you might simply want to try a different strap on a watch you already enjoy. That's a perfectly good starting point too. You don't have to take a watch apart to discover how much a small change can make it feel different.
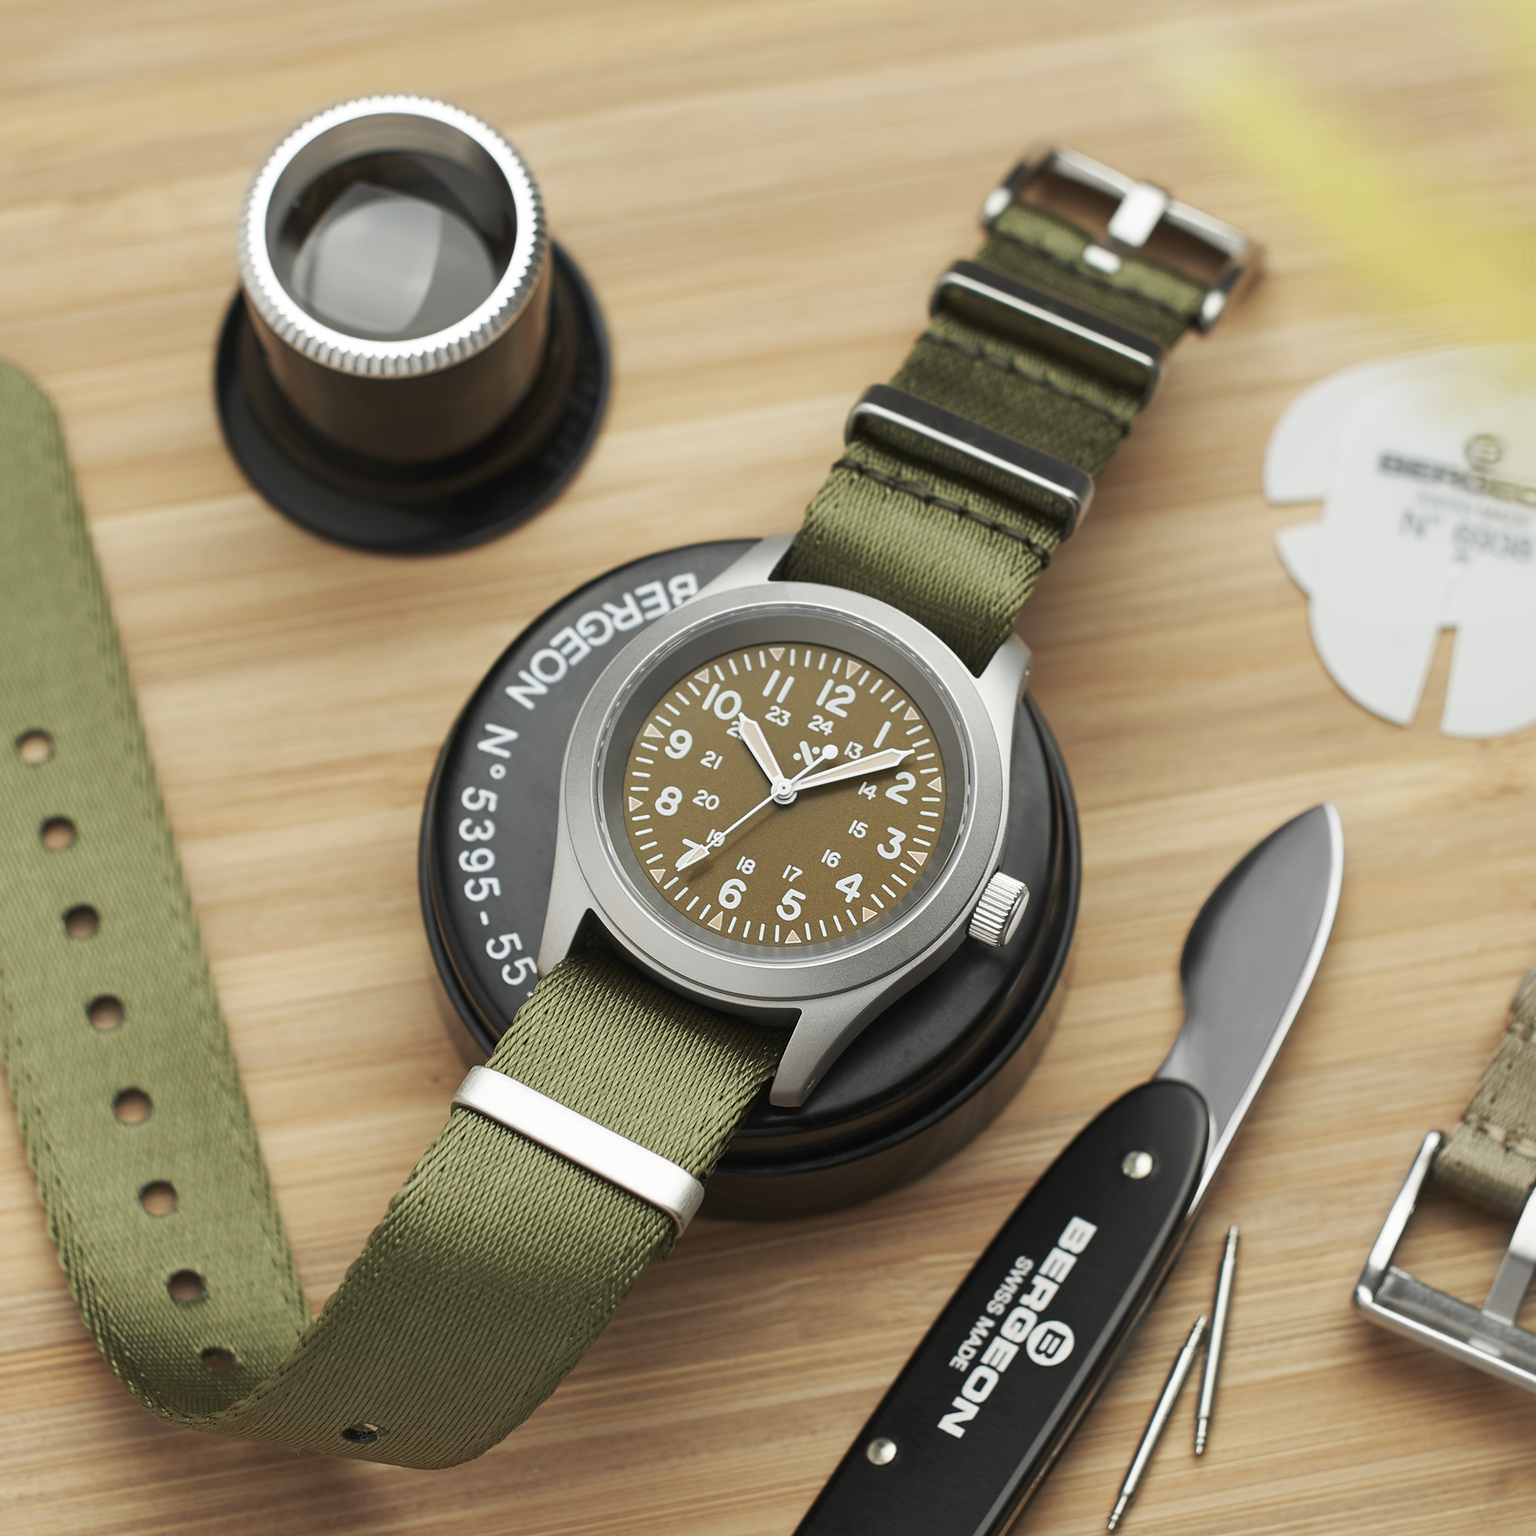
A finished watch and a few tools can make the next project rather tempting.
Find your starting point: What is a Seiko mod? · Three ways to begin · Costs · Tools · Compatibility · Assembly
What is a Seiko mod?
You'll see “Seiko mod” used for a few different things.
It might be a genuine Seiko that's had some changes: a different dial, new hands or a replacement bezel. The watch started life as a Seiko, although it no longer matches the original factory specification.
It can also mean a watch built entirely from aftermarket parts around a compatible movement, often a TMI NH35. You can choose a case, dial, hands and strap without buying a complete Seiko at all.
An NH35-powered custom build isn't an official Seiko watch. The movement doesn't make the other components Seiko-made or the finished watch Seiko-approved. An aftermarket Seiko logo doesn't establish authenticity either, so look for clear descriptions of what you're buying.
Three ways to begin
Give a familiar watch a different look
A strap change is the simplest way to get started. It can make a watch feel more relaxed, smarter or lighter on the wrist, and you can try it without opening the case.
Check the lug width and spring bars first. Straight-ended straps are usually easier to match than bracelets with shaped end links, which need to fit the particular case. Quick-release spring bars make some swaps easier still.
Work over a soft surface, protect the lugs and check both spring bars are securely seated before wearing it. Once you've found a strap that suits the watch, you may be quite happy to leave everything else alone.
Follow a guided watchmaking kit
My first DIY Watch Club build showed me how helpful it is to have the components and instructions together. I could follow the videos through each stage and concentrate on the work in front of me.
A kit takes much of the uncertainty out of choosing compatible parts. Some also come with a prepared case and pre-cut stem, saving you extra jobs and tools. Check the contents carefully, though: a parts-only version won't include the equipment you'll need.
The delicate work is still yours to do, especially fitting the hands. Having guidance makes it much easier to approach with some confidence.
Choose your own components
This gives you the most freedom over the design. You might have a dial in mind or want a combination you haven't found as a finished watch.
I'd keep a first custom build fairly straightforward: a three-hand movement, matching dial and hands, and a case with the crystal already fitted. A GMT brings another hand and more clearance checks, so there's no need to make that your first challenge.
You don't need a donor Seiko for an aftermarket build. Worn or missing components can also make an old watch a more complicated introduction than a kit.
What does a first build cost?
It's easy to spend time choosing the watch and forget about the tools. They deserve their own budget, particularly for that first project.
Prices vary between suppliers, but these rough ranges give you a useful place to start. They're aimed at a straightforward first build, rather than specialist movements or professional equipment.
| Part or route | Typical approximate cost | What makes the difference |
|---|---|---|
| Replacement strap | £8–£50 | Basic nylon sits towards the lower end; many rubber and leather straps cost around £20–£50. Premium straps can cost more |
| NH35/NH36-type movement | £40–£90 | Supplier, date-wheel options and whether regulation is included; other calibres can cost more |
| Case or prepared case bundle | £40–£120 | A bare case usually costs less than a bundle with a fitted crystal, crown and other components |
| Dial | £15–£45 | Simpler designs tend to cost less; finishing, applied markers and lume can increase the price |
| Three-hand set | £15–£30 | Style, finishing and lume; a separate GMT hand may be extra |
| Basic assembly tools | £35–£80 | A starter toolkit may cover much of the work, but stem-fitting tools and other extras can add to it |
| Guided three-hand watchmaking kit | £200–£350 | Many straightforward kits fall around here with basic tools; upgraded tools and more elaborate watches cost more |
A simple strap change might come to around £15–£60, including a basic spring-bar tool if you need one. For a first complete NH35-based watch, roughly £200–£350 including basic tools is a sensible working budget if you choose the components carefully. More premium parts, a bracelet or a more involved diver build can take you towards £350–£500 or more.
Check what the case and toolkit include before adding everything up. A bare case may still need a crystal, crown, caseback, bezel parts and seals. Stem cutters, a pin vice and a file may also need buying separately. A guided kit can make this easier, provided you've chosen the version with tools.
Allow separately for delivery, any import charges, spare parts and professional pressure testing if you plan to rely on the watch in water. You don't need to buy all your equipment at once, and tools you keep can make later builds less expensive.
Building isn't automatically cheaper than buying a finished watch. The enjoyment of making it and choosing how it looks is a large part of the appeal for me.
Which tools do you need?
You certainly don't need a fully equipped watchmaker's bench to begin. Start with the tools for your project, then add to them as you take on different work.
For a strap change, a spring-bar tool and soft surface may be enough. Bracelet sizing can need a screwdriver or pin-removal tool, depending on its construction.
Once you're working with a movement, dial and hands, these become useful:
| Tool | Why you'll use it |
|---|---|
| Correct caseback opener and suitable support | To open and close the case with a secure grip |
| Movement holder | To keep the movement supported during dial and hand work |
| Hand-setting tools | To seat the hands with controlled pressure |
| Hand removers and dial protector | To remove hands for a swap or correction while protecting the dial |
| Fine tweezers and suitable small screwdrivers | To handle components and the fasteners your build uses |
| Loupe and good lighting | To see the tiny fittings and check hand clearance |
| Blower, finger cots and covered parts tray | To keep dust, fingerprints and misplaced components to a minimum |
| Suitable cleaning putty | To lift particles where the surface finish allows it |
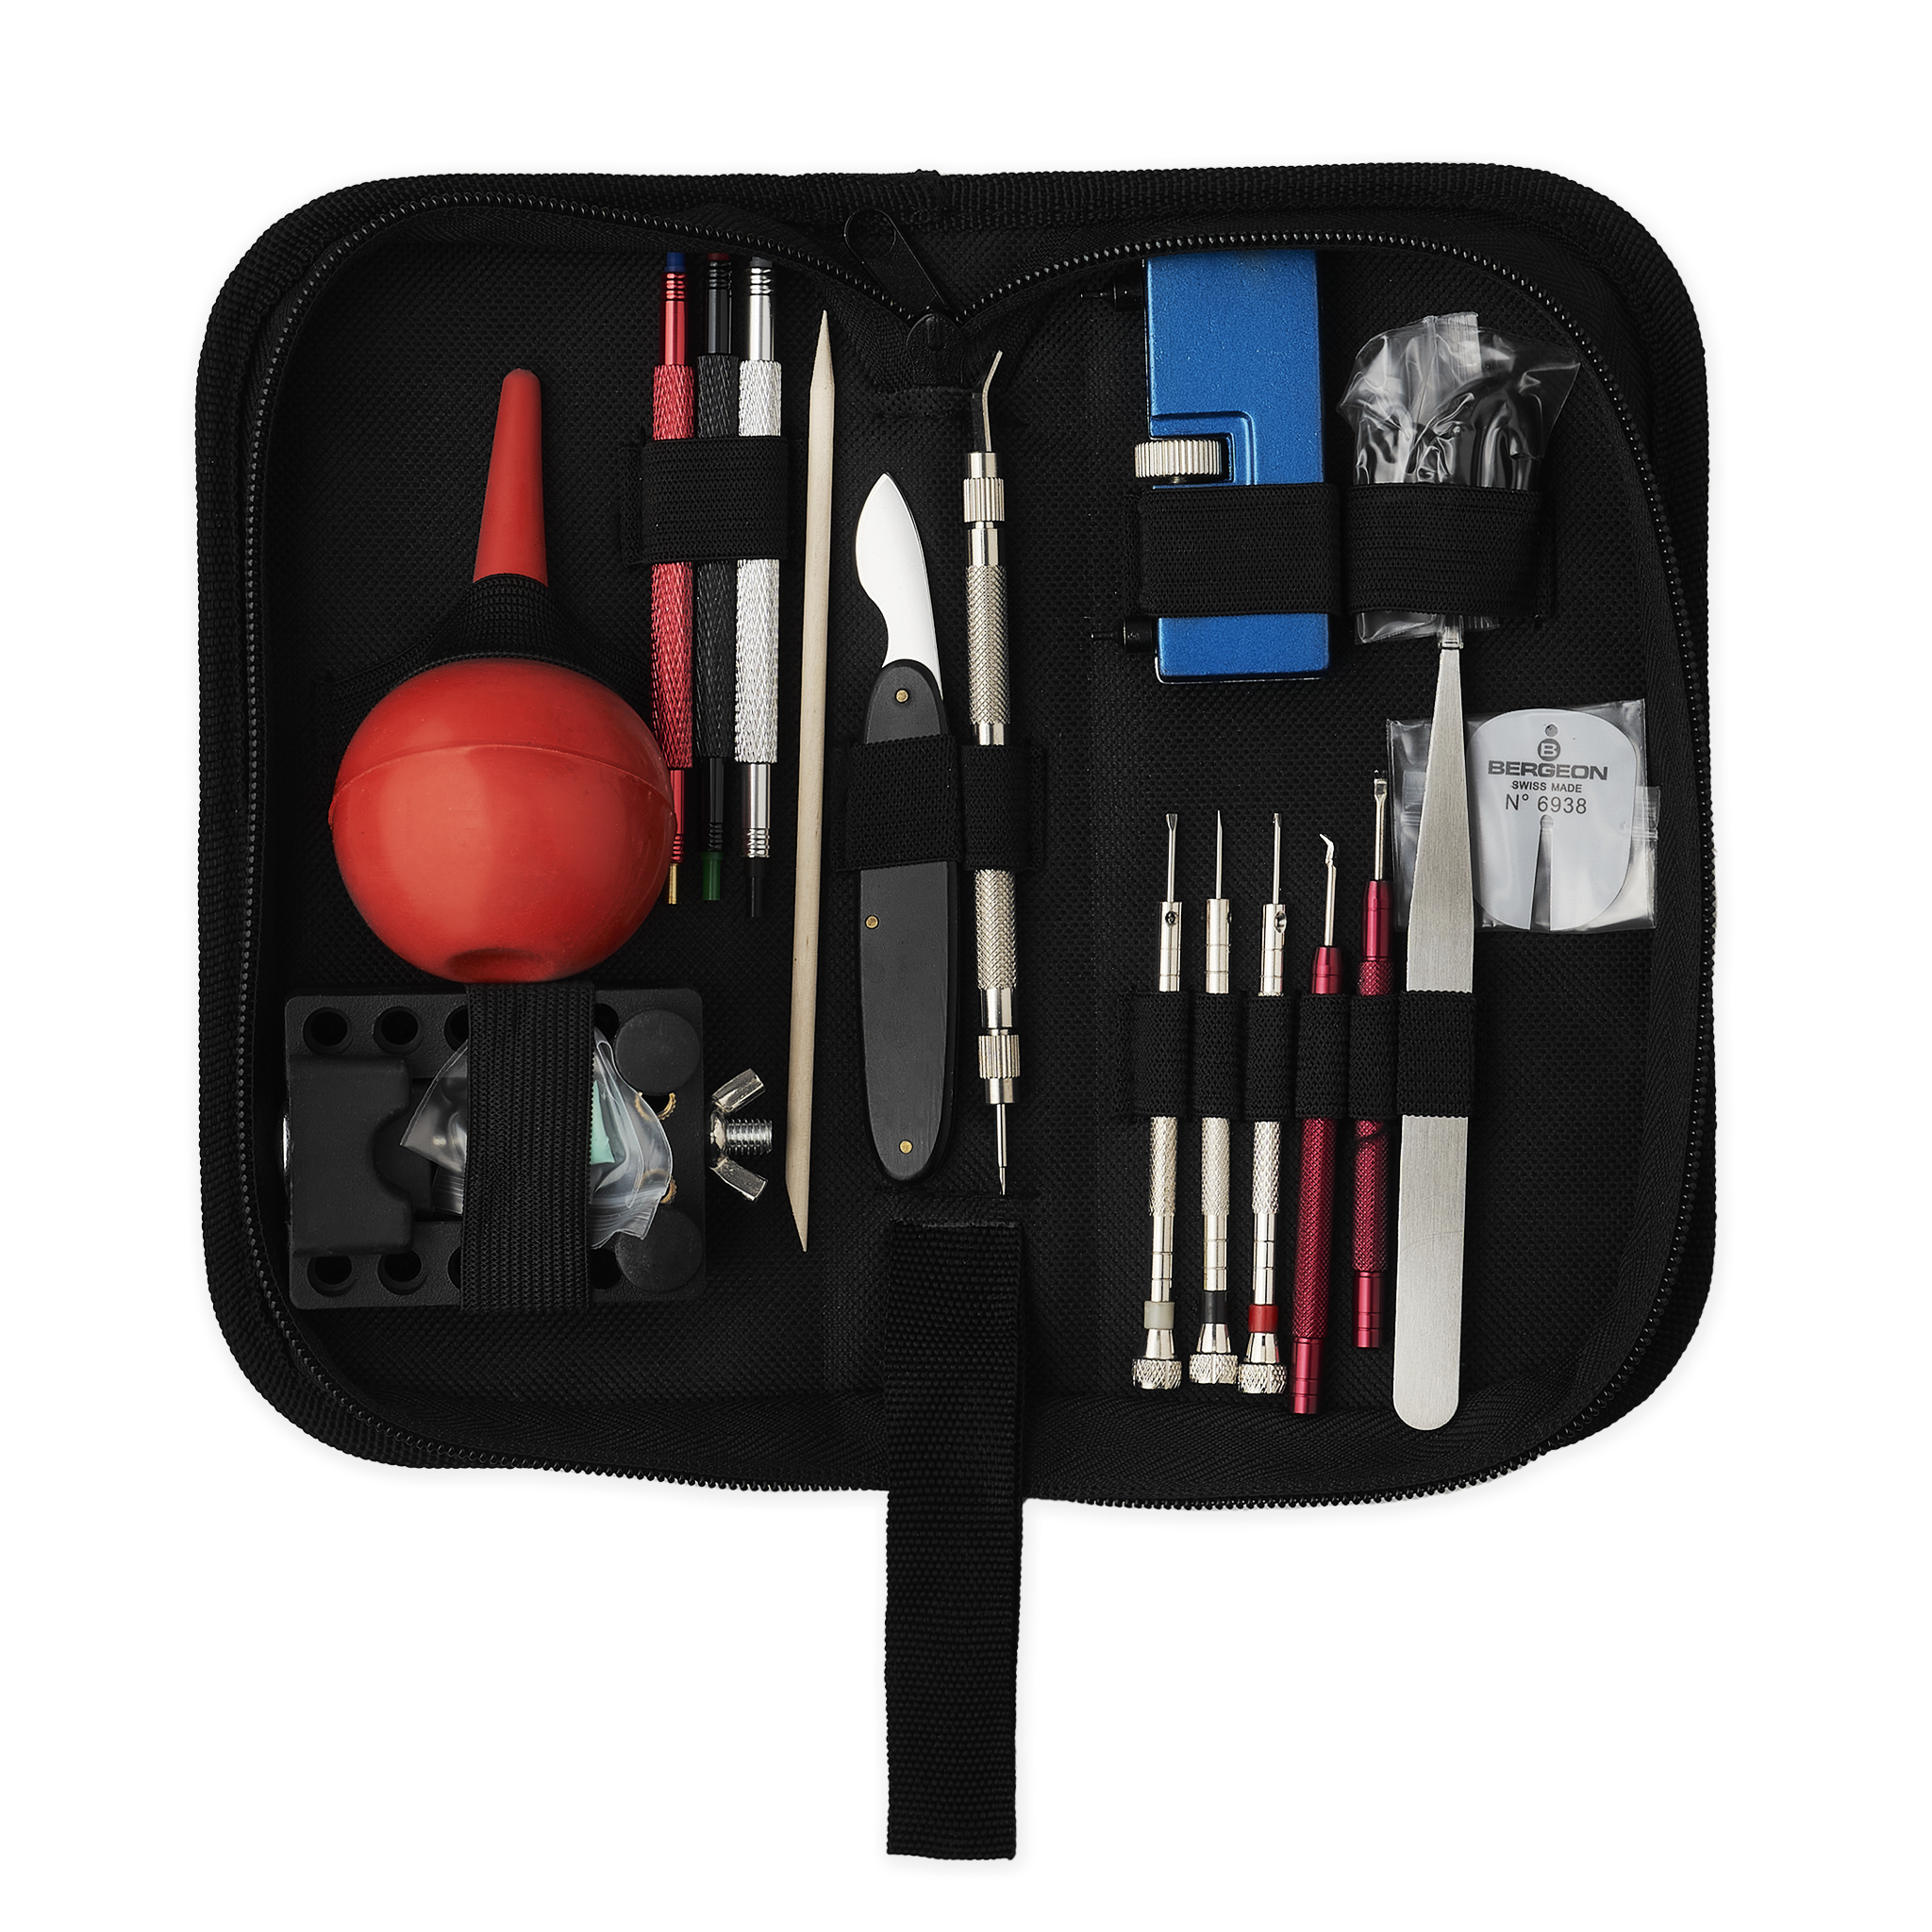
A toolkit can cover the basics, but check its contents against the work your build needs.
A toolkit can be a sensible starting point. Check for suitable cutters, a pin vice and fine file if your stem needs shortening. Keep filings away from the exposed movement.
Crystal fitting needs a suitable press and correctly sized dies; bezel work may need separate tools too. Choosing a case with its crystal already installed lets you leave the press off your first shopping list.
I'd leave a timegrapher or ultrasonic cleaner until there's a reason to buy one. Good lighting and a steady work surface matter much more at this stage. Treat cleaning putty carefully too: delicate dial finishes can be damaged by cleaning attempts.
What parts make a complete watch?
The movement, dial and hands get plenty of attention when choosing a build, but there are a few less obvious things to remember.
You'll need a case, crystal, caseback, crown and winding stem, the correct seals and movement support or retaining parts, plus a strap or bracelet and suitable spring bars.
Some cases also need a separate chapter ring around the dial. An SKX-style diver may need a bezel, insert, click spring and bezel gasket, whereas a dress case with an integrated bezel has a simpler list.
A case bundle can help, but check whether the crystal is fitted and the crown, caseback and seals are supplied. Don't rely on photographs alone. An automatic movement already has a rotor; a decorative replacement can wait.
Checking parts compatibility
Finding parts you like is the enjoyable bit. Making sure they'll work together deserves just as much attention before you order.
“NH35-compatible” doesn't mean every part in the basket will work together. There's more to check than the movement fit.
Movement, dial and hands
Start with the functions you want. The NH35 has a date, the NH36 adds a day display, the NH38 offers a no-date/open-heart option and the NH34 adds a GMT hand.
Then match the dial to both the movement and case. Many builds use a 28.5mm dial, but the movement name alone doesn't tell you the right diameter. The dial has to fit the case's seat and opening too.
Underneath the dial are small locating pins called feet. These need to suit the movement and the position of the crown in your case. Some dials have extra feet for different layouts; establish which pair you need before removing the others.
Check the calendar opening as well. It needs to line up with the date or day-date display. An NH36 moved between crown positions may need a different day wheel, even if the movement itself fits.
With hands, check the fitting sizes for the calibre, their length and the space above the dial. They need to clear the markers, one another and the crystal. A hand set can fit the movement and still be unsuitable for the complete watch.
A GMT adds another consideration: the NH34 needs its GMT hand, a suitable dial opening and enough room for the hand stack. Check the whole arrangement before deciding to turn an NH35 project into a GMT.
Case, crown and outer components
The case's outside diameter helps you judge its size on the wrist. Check the supported dial size, movement support and internal clearance separately.
The crown needs to match the case tube and sealing arrangement, while its stem must suit the movement and be the right length for the assembled watch. Too long can stop the crown seating; too short can prevent proper operation and mean starting again with another stem.
Crystals need the correct diameter, thickness, profile and gasket. Bezels and inserts have their own attachment and size requirements, including flat or sloping profiles. Casebacks need matching threads, seals and internal clearance.
DIY Watch Club's compatibility notes give a useful example: the diver described shares some parts with SKX/SRPD watches, but its crystal, crown and caseback aren't interchangeable with them. Check the guidance for your exact model.
If the listings leave you unsure, send the supplier your complete parts list. A question before ordering is much easier to deal with than an incompatible component on the workbench.
How a watch build comes together
Give yourself somewhere comfortable to work, with good light and enough time to settle into it. Read the instructions through first, lay out what you need and keep components covered when you're not handling them.
The sequence varies with the case and kit, but a typical build comes together like this:
Prepare the case. Any crystal or chapter-ring installation should follow the case-specific instructions before the delicate dial and hands are introduced. A prepared case saves you this stage.
Fit the dial to the supported movement. Check the correct feet and calendar alignment. Use the movement's instructions when removing or inserting the stem; the release procedure isn't universal.
Fit the hands. This was the part that demanded the most patience on my first build. On a date movement, establish the date-change point before aligning the hour and minute hands at twelve. Use the appropriate setting tips and inspect the hands from the side. The seconds hand is especially delicate, so stop and check its alignment if it won't seat.
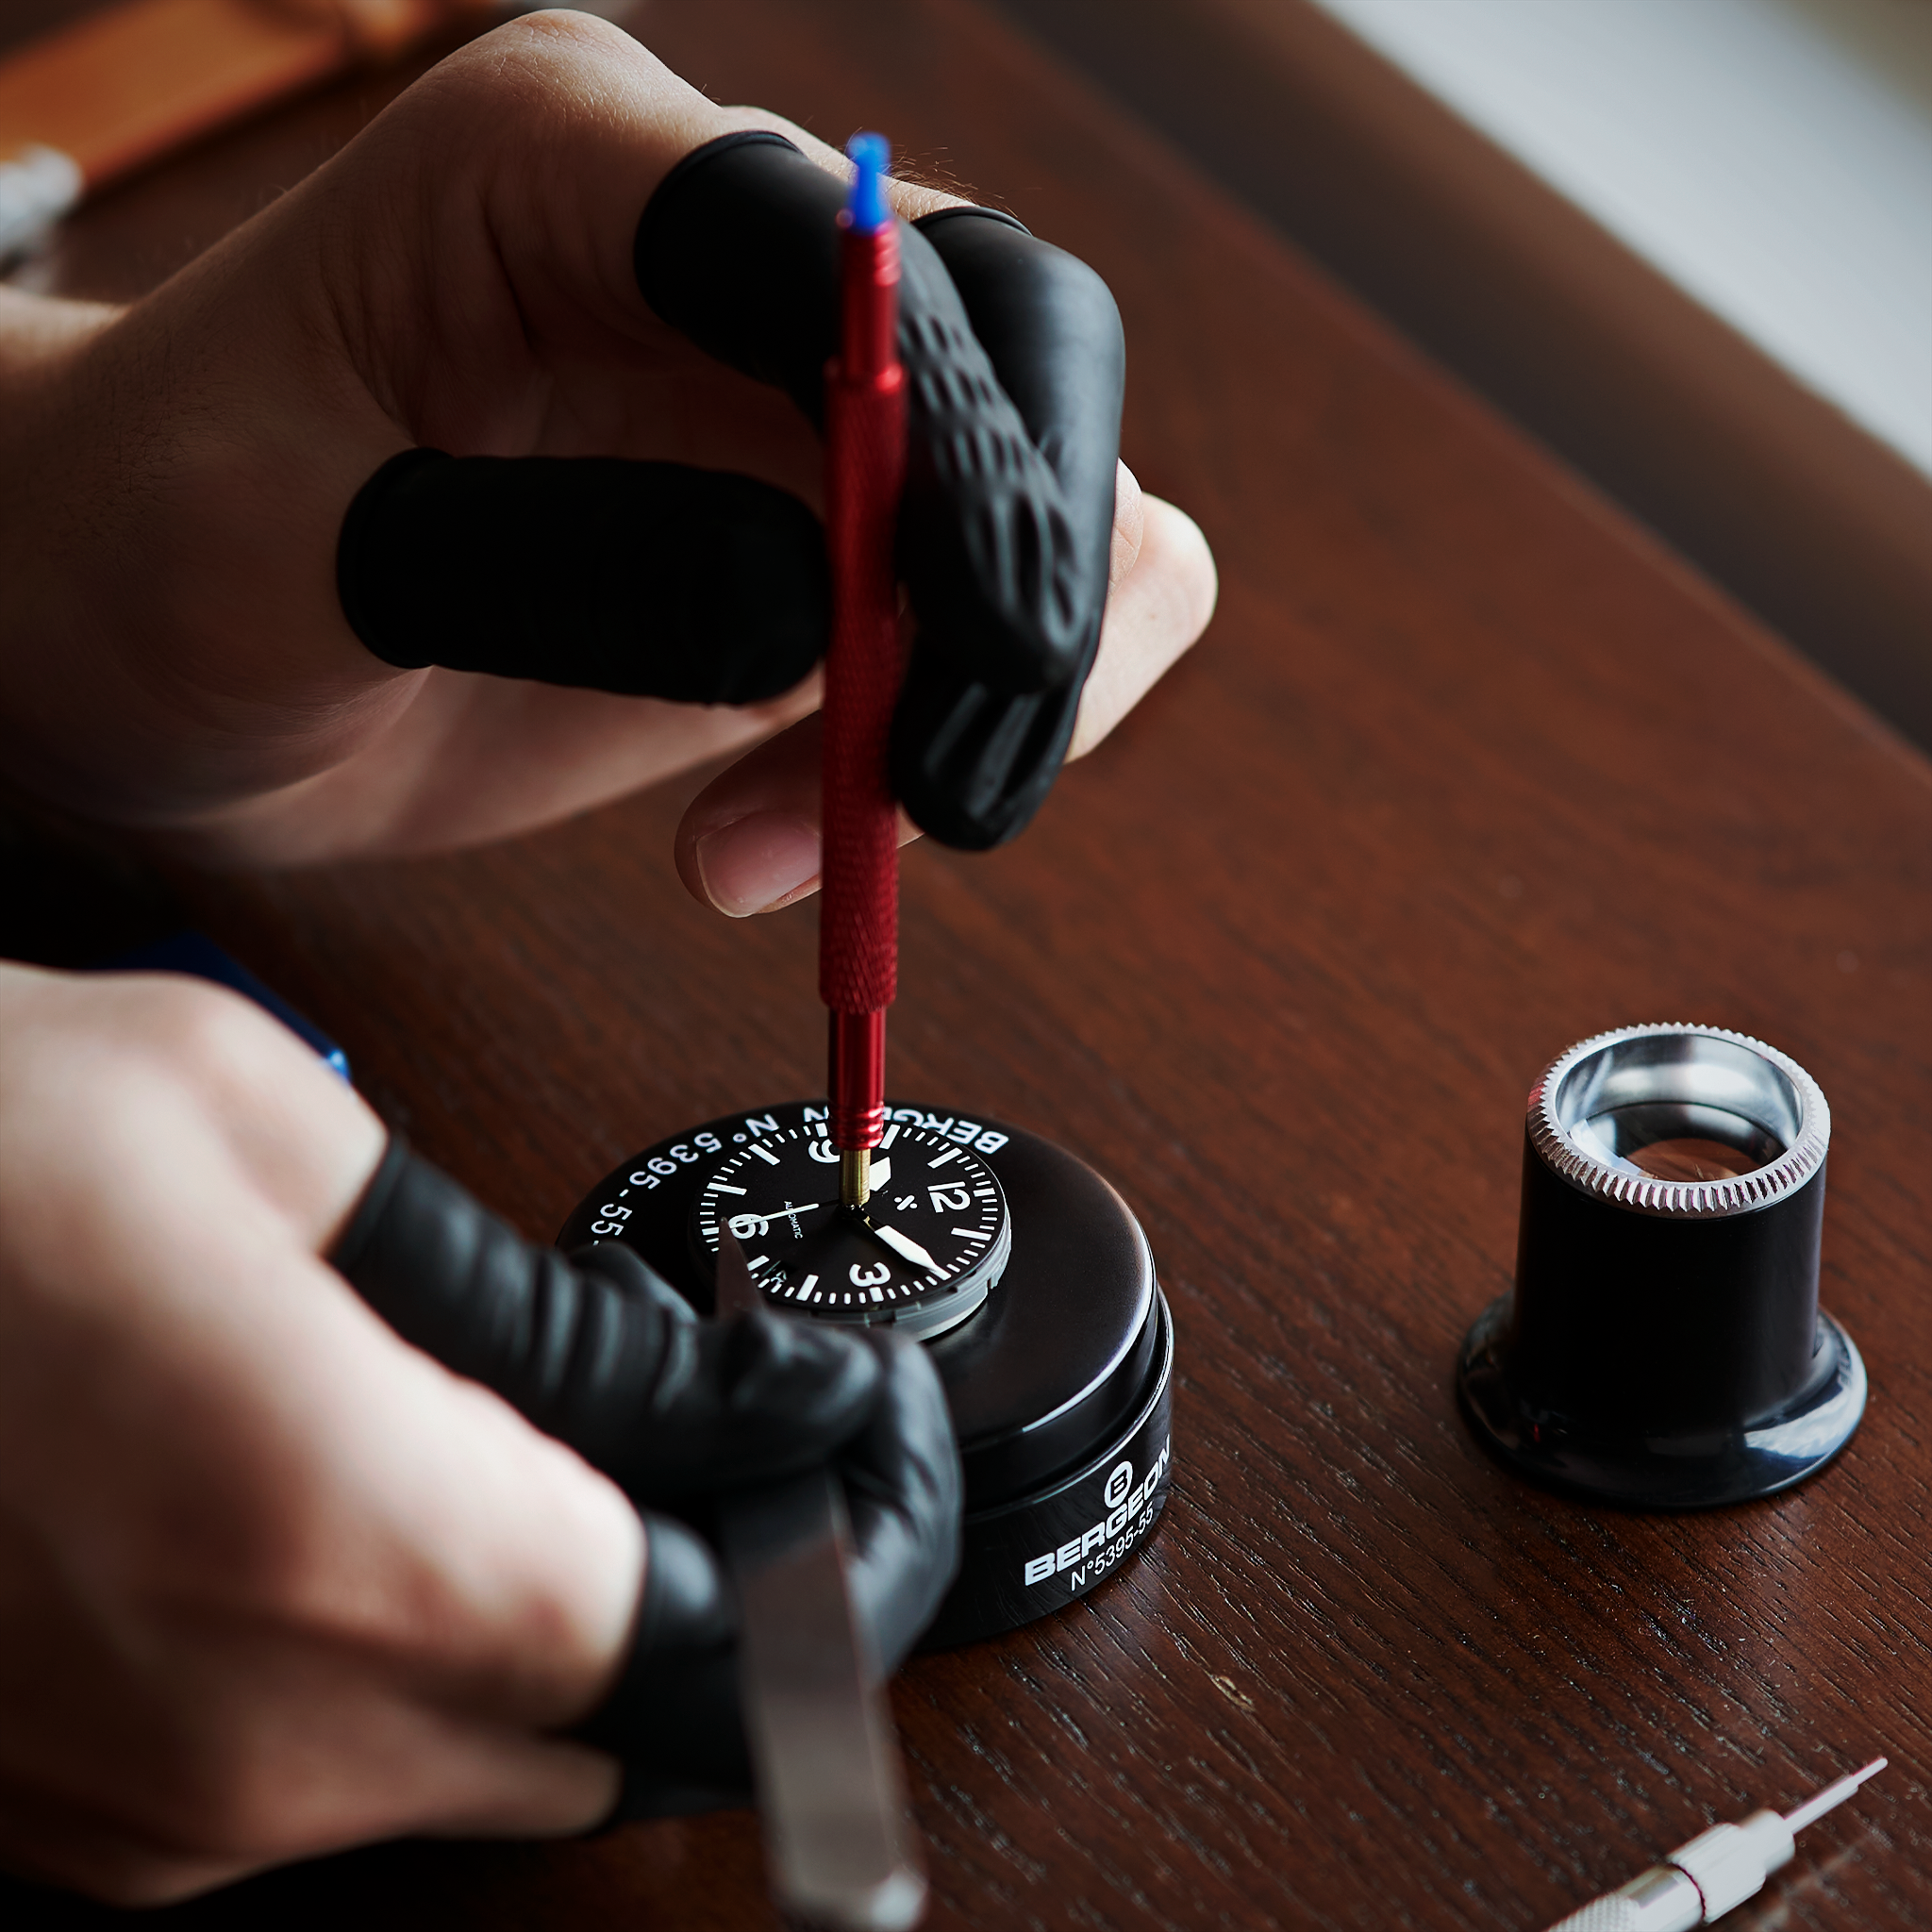
Hand fitting needs good light, magnification and patience.
Check that everything clears. On a date build, slowly advance the hands through at least 24 hours to check the calendar change. Make sure the hands clear the dial, markers, one another and the crystal. Follow the setting instructions: TMI advises against quick-setting the NH35's date between 9pm and 4am.
Fit the assembly, crown and stem. Use the correct movement support. If the stem needs trimming, measure carefully, remove it for cutting and filing, and approach the finished length gradually. Test winding, setting and crown seating; a pre-cut stem still needs checking.
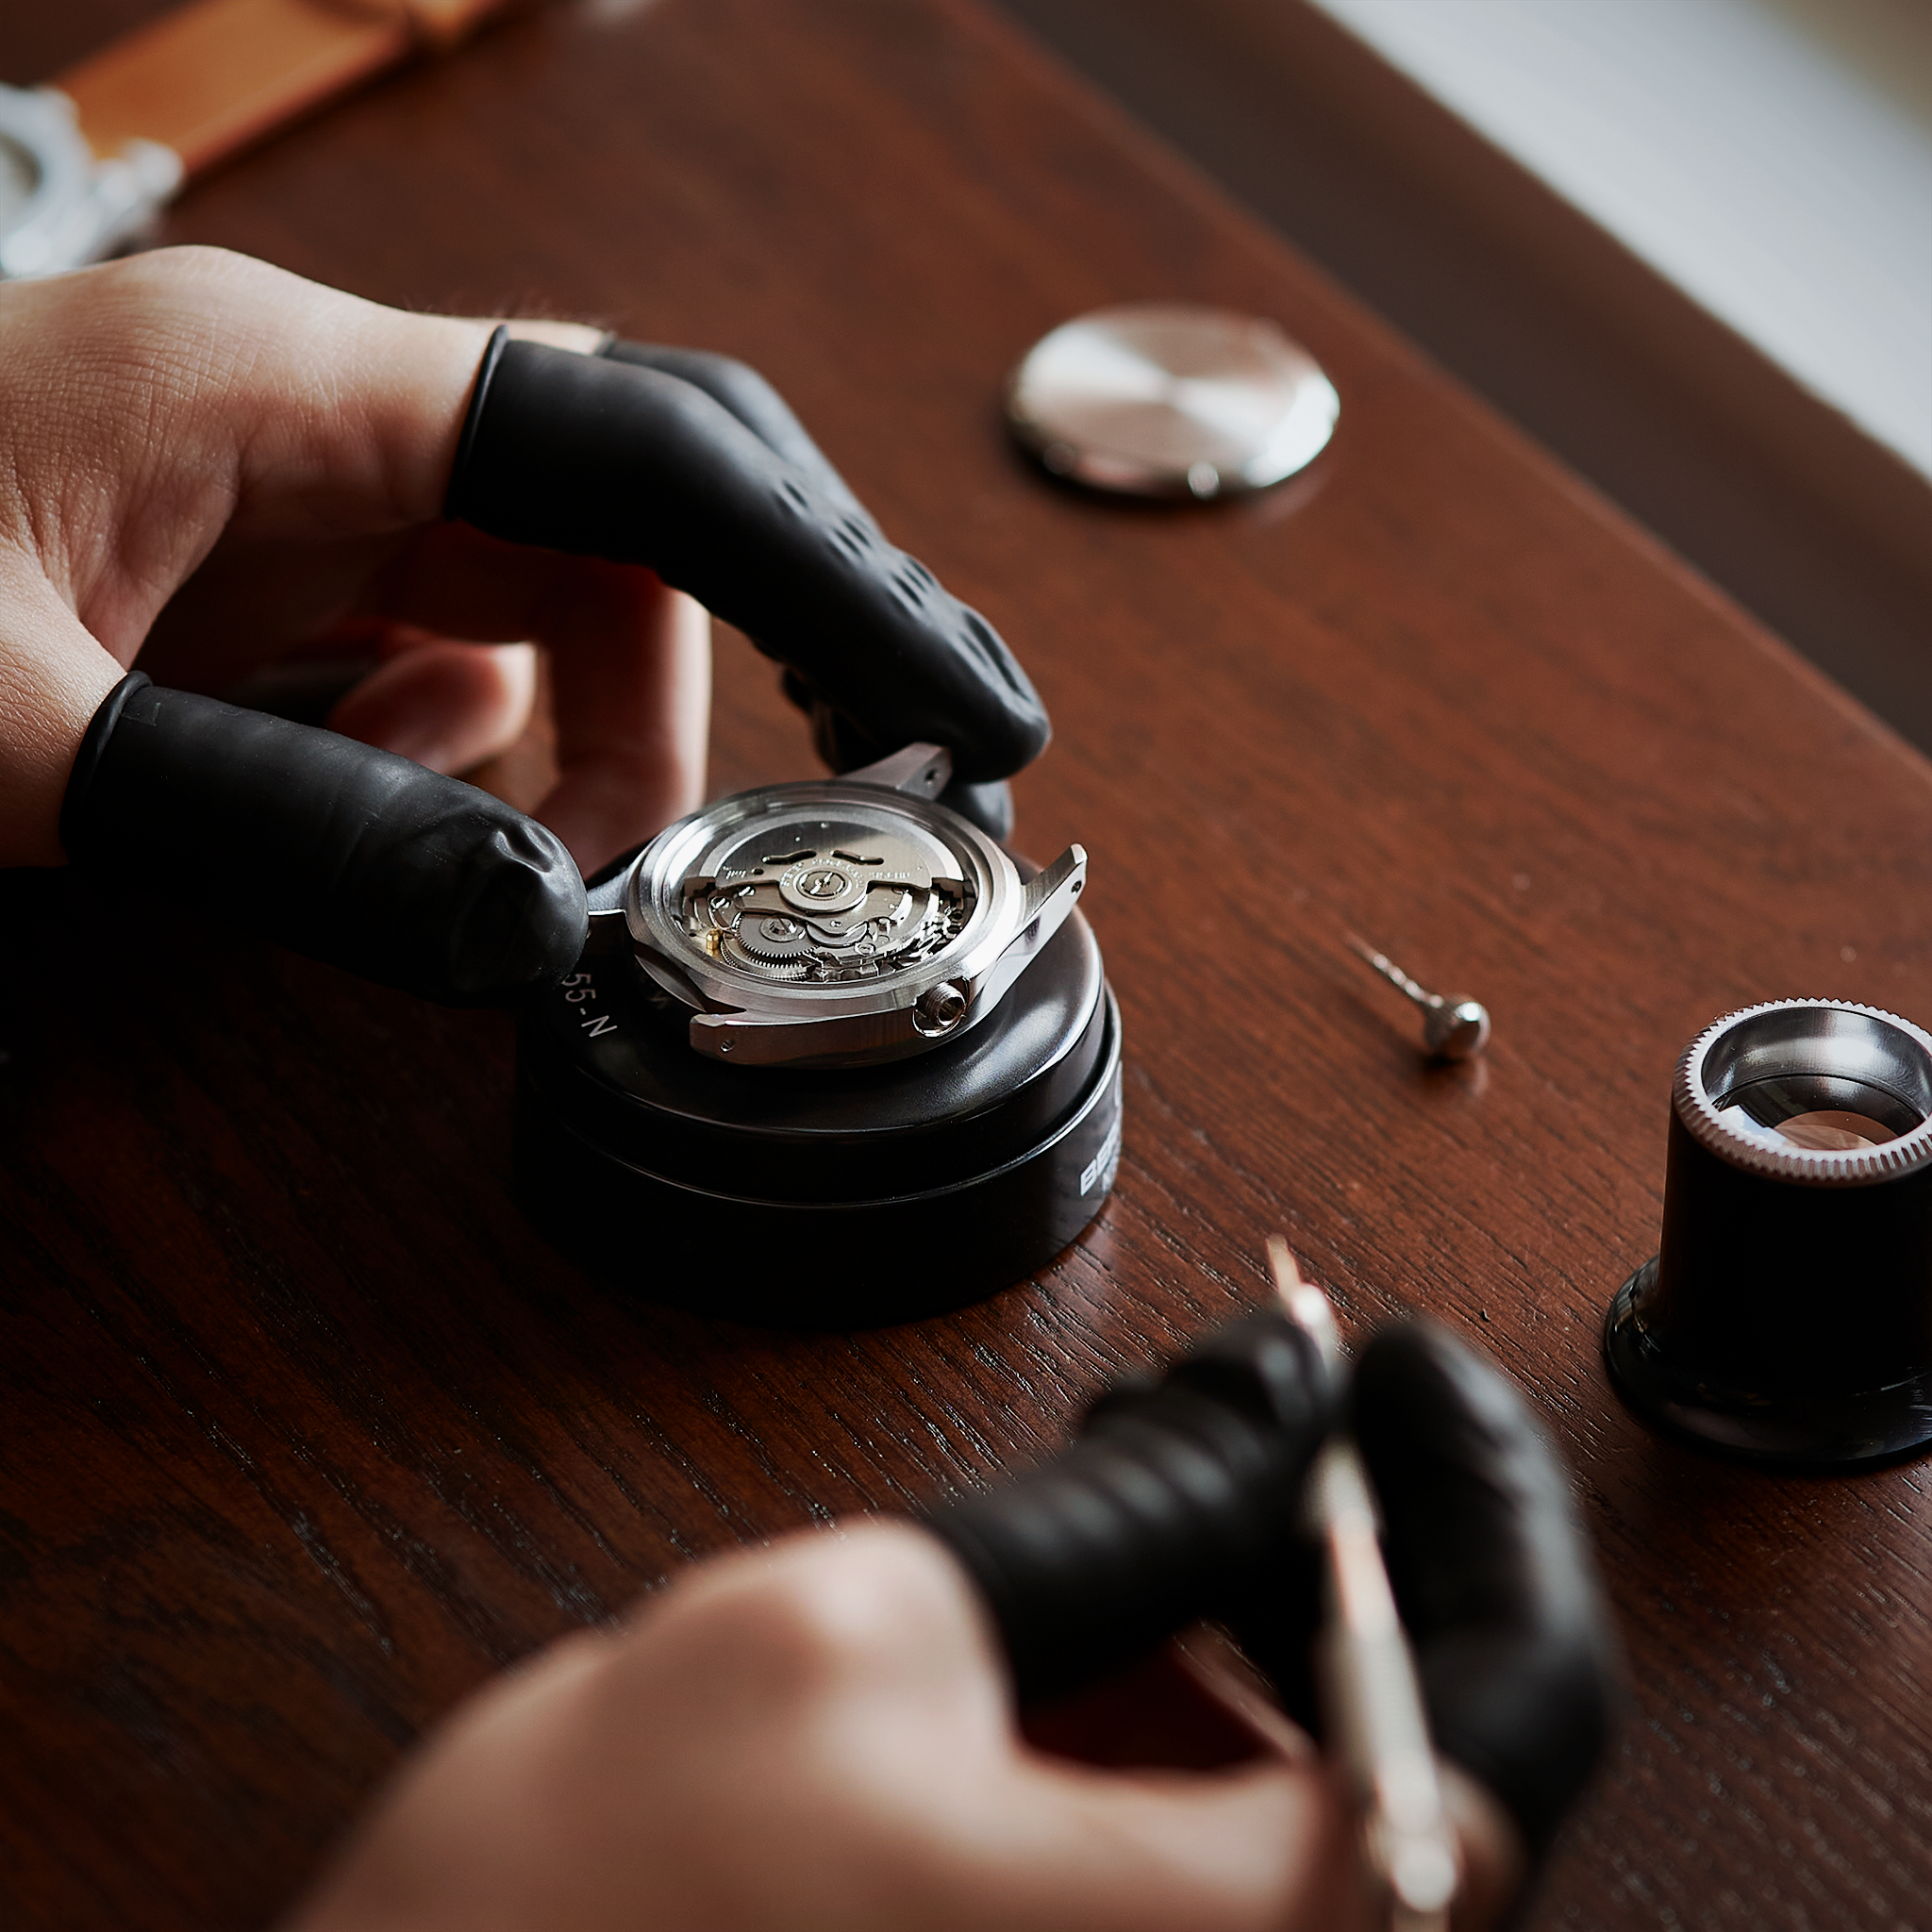
Follow the instructions for the exact movement when releasing or refitting the stem.
Inspect and close. Look for dust, check the seals and close the case with the appropriate tool. Fit the strap securely, check the watch's functions and observe its timekeeping afterwards. These checks don't establish water resistance.
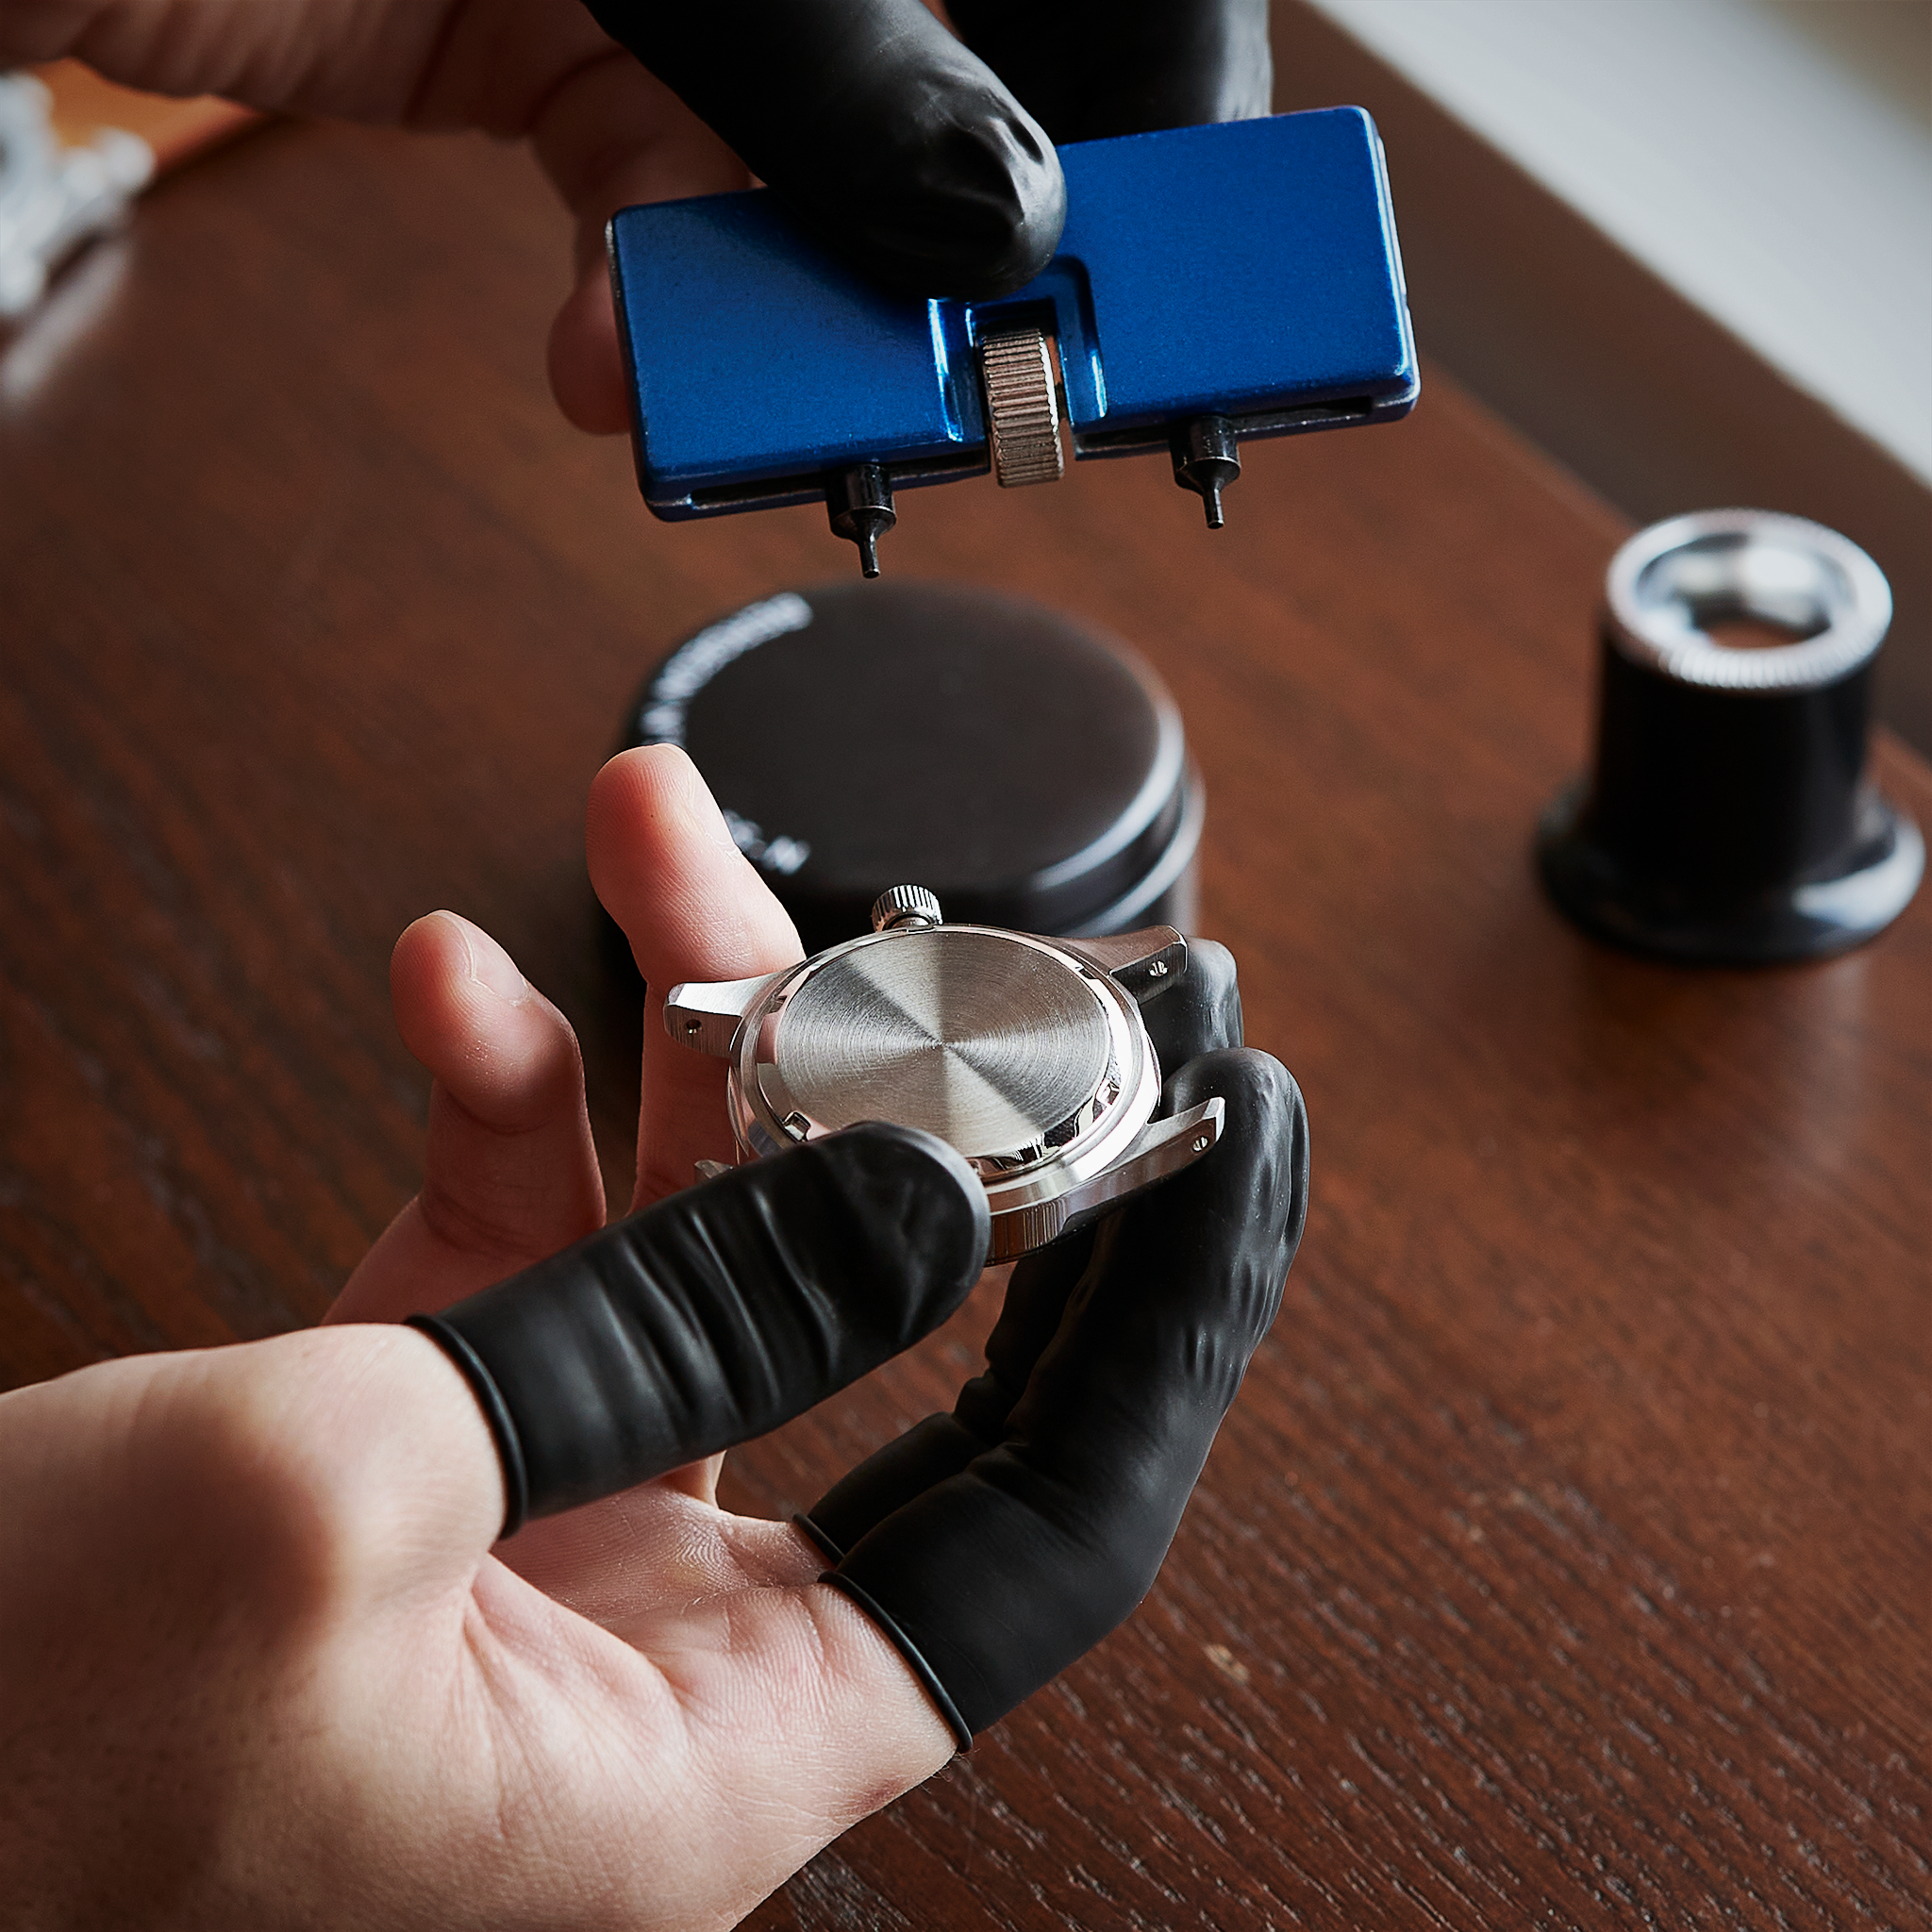
Use the appropriate caseback tool and support the watch securely.
Use detailed instructions for your actual components as you work. A kit may suggest one or two hours, but I'd give a first build a clear afternoon. My later Expedition took about an hour once I had some experience; there's no reason to use that as a target for your first attempt.
Mistakes worth avoiding
Preparation makes a big difference. Buying parts because they look right, forgetting a caseback or assuming a toolkit includes everything can leave a project waiting for another delivery.
Once you start, keep the movement supported and the dial protected. Hands and their fittings are delicate, and extra pressure won't solve poor alignment. Dust, fingerprints and a hurried stem cut can also spoil otherwise careful work. If you're losing patience, cover the parts and take a break.
Water resistance needs particular care. A rating on a dial, caseback or supplier's case listing doesn't prove your finished watch meets it. Seals and assembly matter, and an opened or modified watch needs appropriate pressure testing before you rely on it in water. A screw-down crown alone doesn't give that reassurance.
Check the warranty before working on an existing watch too. Seiko states that MOD watches aren't covered by its warranty or quality assurance. Kits and movements may have separate supplier terms. I'd keep a valuable or sentimental watch out of the first-project plans.
A few projects to explore
My DIY Watch Club Expedition build followed that first diver. Already having the tools helped, and the process felt more familiar.
I've also enjoyed taking Namoki projects in different directions. For my Alpine build, I went with a cream dial and cathedral hands. They give it a lovely vintage feel, and the Alpinist inspiration is something I've always enjoyed.
The Polerouter-inspired build is dressier. I particularly liked the grey leather strap with the silver sunburst dial. It's a combination I really enjoyed wearing.
My DIY Watch Club GMT review covers a later build with an extra hand to fit. If you'd prefer a finished watch, my Namoki NMK07 62MAS review looks at one supplied fully assembled.
These articles record the projects and watches I spent time with. Check current components and specifications before trying to recreate an older build.
Where to buy parts and find help
Namokimods and DIY Watch Club have both been part of my experience with watch building. Namoki gives you plenty of individual components to explore, alongside complete kits, while DIY Watch Club's video-guided approach was a helpful introduction for me.
Choose the watch and level of guidance that suit you, then compare the contents, delivery costs and support. A kit you actually want to build and wear makes much more sense than choosing on a discount alone.
You can browse Namokimods' parts and kits, using MTR10 for 10% off eligible purchases. You can also explore DIY Watch Club's current kits, using MTRWATCHES for 5% off. Remember to select a tools-included version if you need the equipment.
For further help, SeikoMods' Noob Centre brings together checklists and demonstrations. Namoki's hand-installation guide is useful for understanding hand height and clearance. Keep the instructions for your exact movement and case beside you as well.
Where I'd start
For a first full build, I'd still choose a straightforward guided kit. That approach helped me get started, and there's plenty to learn without adding every possible decision at once. If choosing the individual components is what excites you, give the planning and compatibility checks the time they need.
What I've enjoyed most is seeing a watch come together and then being able to wear it. Later projects have given me room to try different designs as my confidence grew, but that first blue diver still sums up the appeal for me: the patience of fitting the hands, followed by the pride of wearing the watch I'd put together.
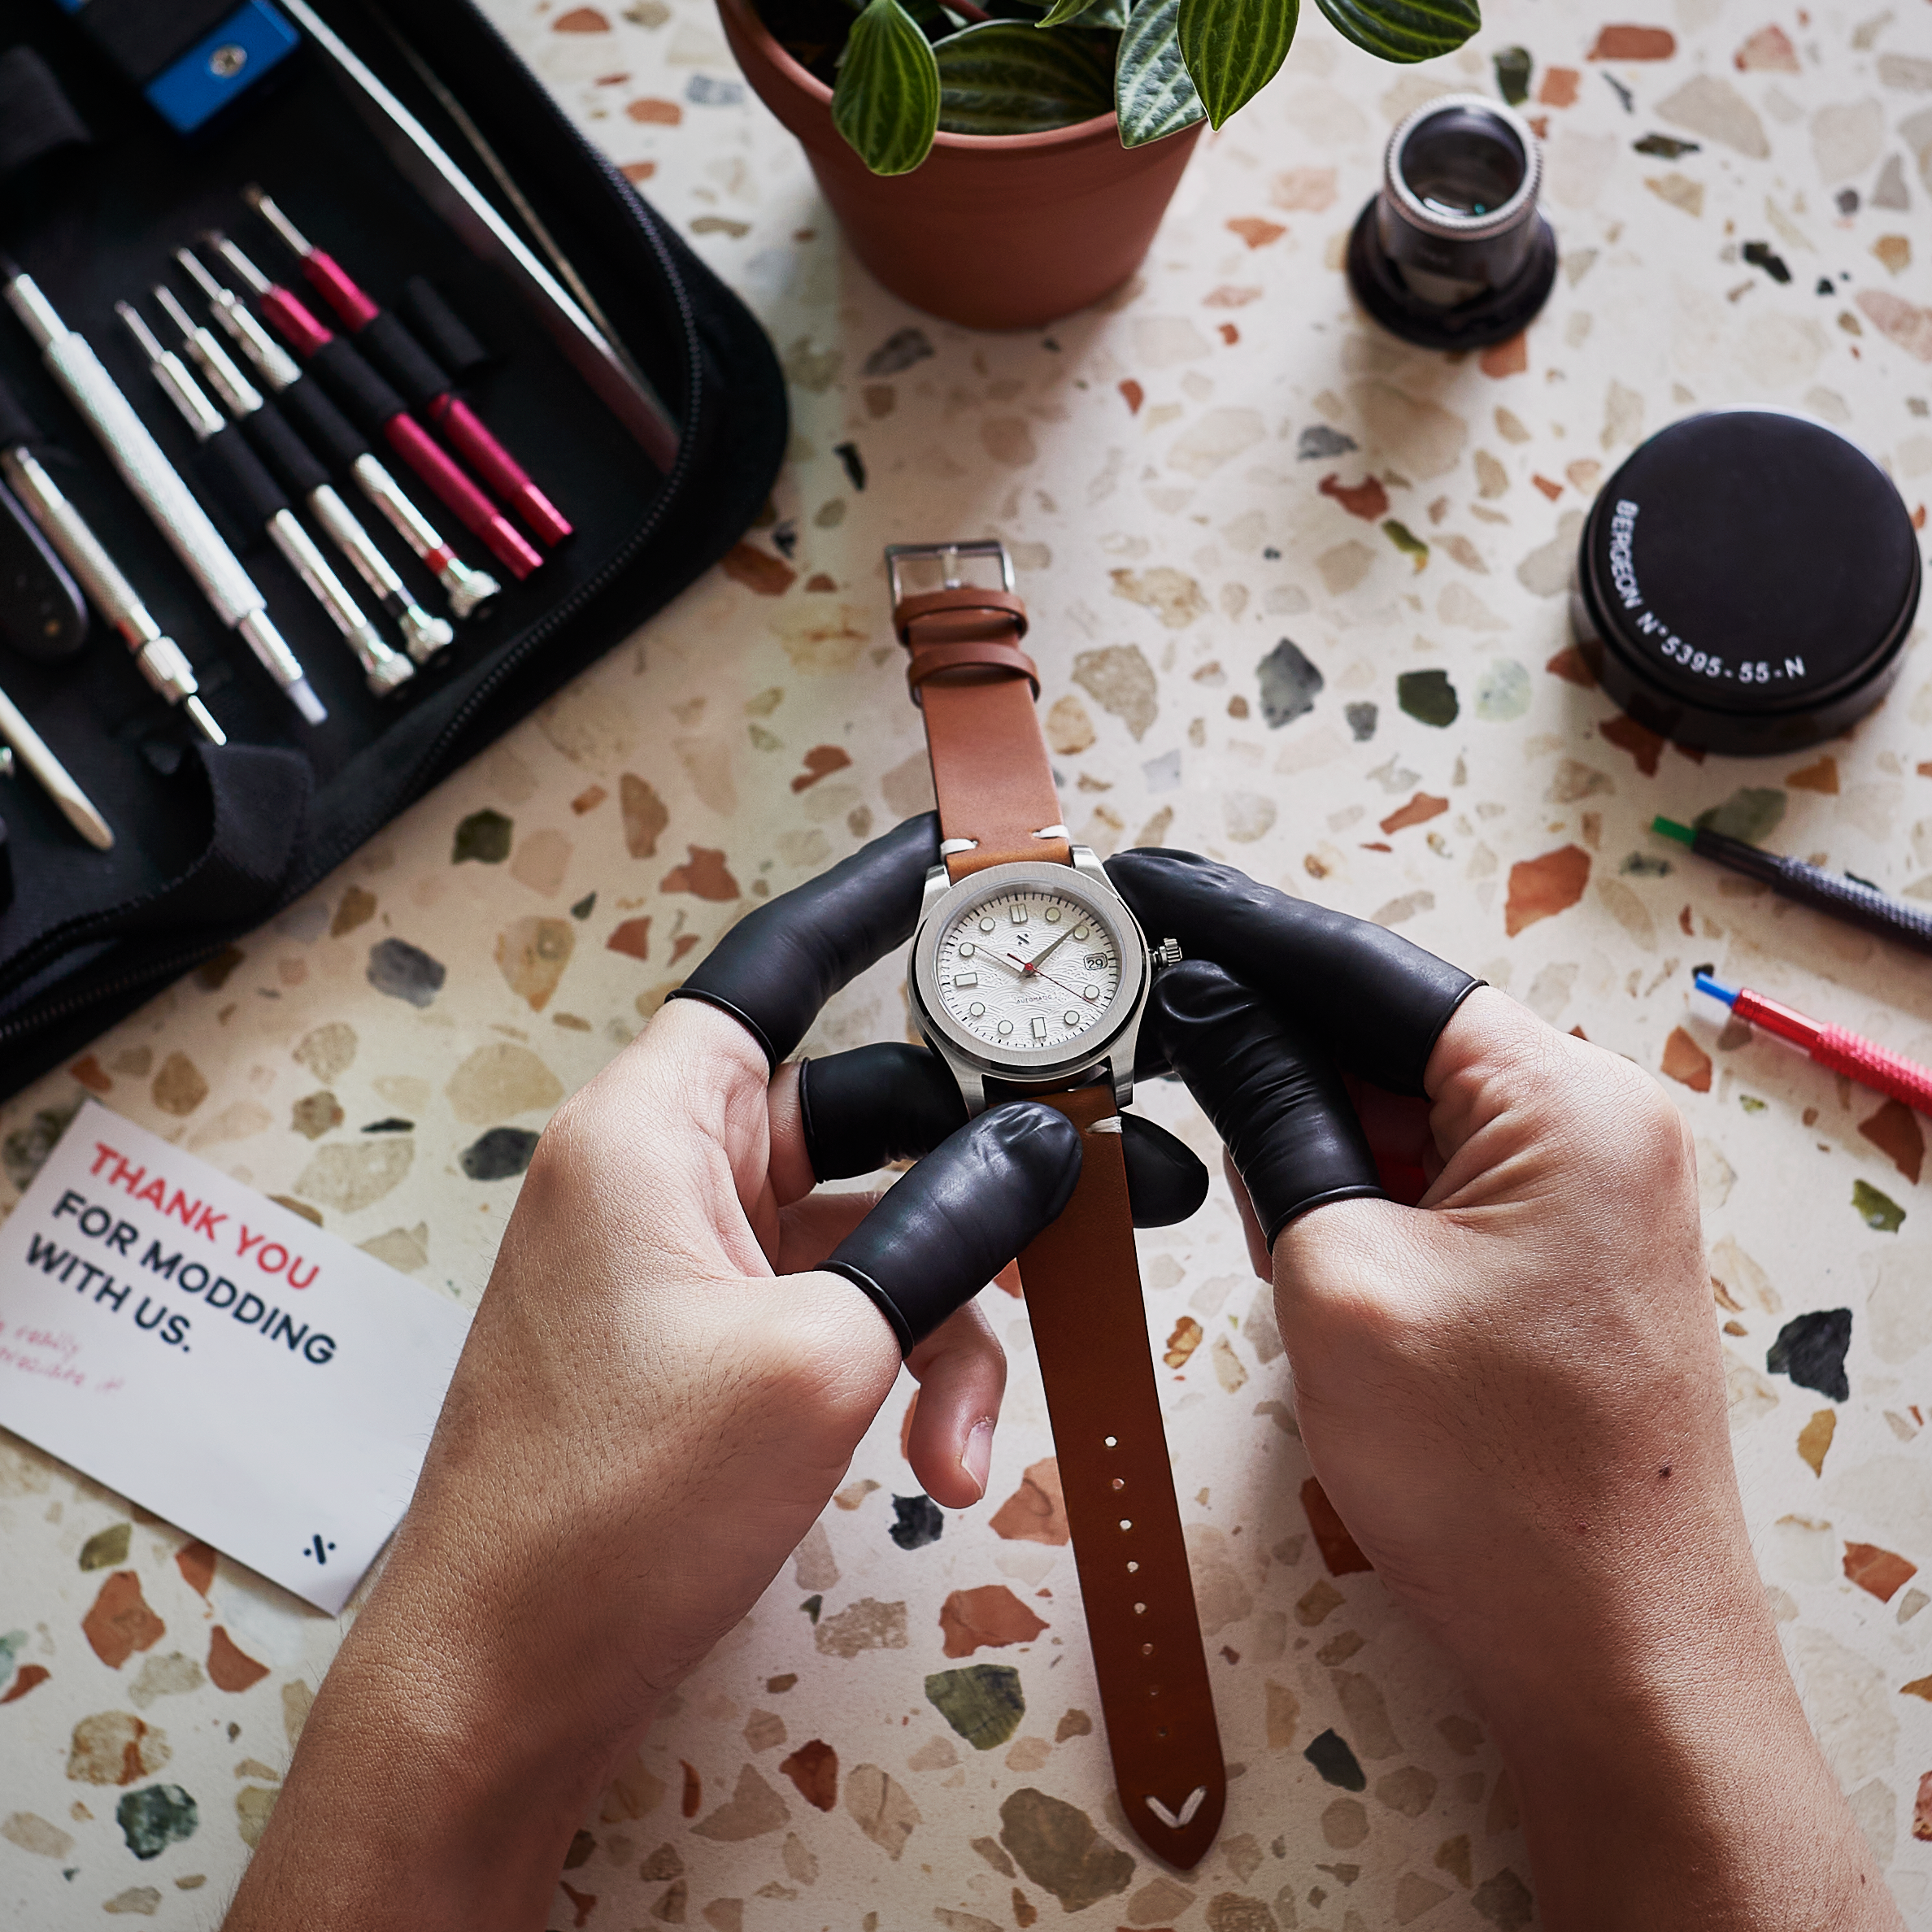
The reward is a watch you've assembled and can enjoy wearing.
A couple of other questions
Can I return a modified watch to its original specification?
Sometimes. Keep the original parts, but remember that removal can damage them and some changes are irreversible. Having the spares doesn't guarantee you can restore the watch's original condition or recover your costs.
Can I use an NH35 behind a no-date dial?
Yes, if the dial and case are compatible. The date mechanism remains underneath, and you'll still have the date-setting crown position even though you can't see the date. A compatible NH38 build is another option if you want a no-date movement.